Collections
All
14212 deviations
Featured
12170 deviations

Stamp Collection
609 deviations

Daily Dozen
43 deviations

DD worthy
107 deviations
My DD Suggestions
12 deviations

Astrophotography
8 deviations

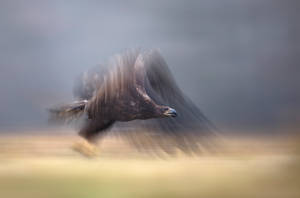
Bird Photography
59 deviations

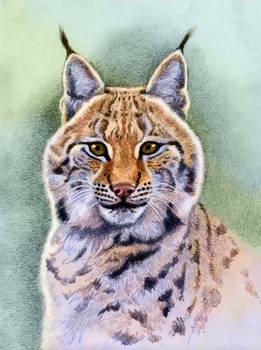
Wildlife Photography
96 deviations

Pet Photography
65 deviations

Nature Photography
23 deviations

Landscape Photography
133 deviations

Macro Photography
50 deviations

Marine Photography
6 deviations

Food Photography
11 deviations
Portrait Photography
42 deviations

General Photography
47 deviations
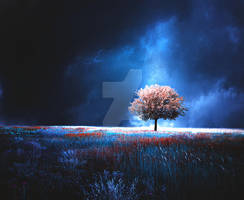
Digital Art
20 deviations

Analogue Art
9 deviations
Recent Finds #10
A collection of recent finds
Previous: 1, 2, 3, 4, 5, 6, 7, 8, 9
DA - My Features
168 deviations
Photography Interviews: APN - Part 1
Welcome to an interview of the amazingly talented Animals, Plants and Nature photographers: FreyaPhotos (https://www.deviantart.com/freyaphotos), JestePhotography (https://www.deviantart.com/jestephotography), linneaphoto (https://www.deviantart.com/linneaphoto) and Glenn-Crouch (https://www.deviantart.com/glenn-crouch). We hope you will enjoy the insight this interview might provide you on street photography, and each of their personal experiences and views. The interview will be split in two, so keep your eyes open for the second half!
Could you please introduce yourself to us, and tell us a little bit about how long you've been an APN photographer, and what area(s) you specialize in?
FreyaPhotos (https://www.deviantart.com/freyaphotos):
I’m Freya, a zoology student living in Scotland. I discovered my passion for photography when I wa
DA - My Interviews
3 deviations
Feature November 2018
Its been a very long time since we did a feature as of late, (coughcough)
Unfortunately, life gets a hold and I can only apologise about that
So, I thought let’s put some action into The club by doing a feature
So, behold below, great work from the community, check them out and help by leaving a fave at least
Thank you all Lisa
DA - Features
33 deviations

Arts n Crafts
65 deviations
Decoding Crochet Patterns: Part 2
Looking at a crochet pattern for the first time can be a bit intimidating- it looks like it's own language! No fear, we've got some helpful tips and charts to share. And remember, you're part of a friendly group of crocheters here at Knitting-and-Crochet (https://www.deviantart.com/knitting-and-crochet) who would love to help answer your pattern questions! Also check out Decoding Crochet Patterns: Part 1.
Written Patterns-Best for Verbal/Logical Learners
Learned to crochet, but not how to read patterns? I've meet lots of people over the years who can crochet but cannot read patterns. There's nothing wrong with never learning to read patterns, but there are some benefits to learning if it's
Tutorials, tips etc
50 deviations
Editing of infrared photographs using Photoshop
Infrared Photography
I would like to show you my way of editing infrared photographs using Photoshop CC and the NIK plugins Viveza 2 and Silver Efex Pro 2. I started about 10 years ago with infrared photography using a Fuji S3 Pro body and two Nikon lenses. Having not been satisfied with the endless exposure times, I bought a used Nikon D70 having taken lots of infrared photographs over some years. In 2013 I decided to buy a new Nikon D90 body and had it converted to 720 nm.
My newer infrared photographs are all taken with the Nikon D90 converted to 720nm by Optik-Makario, Germany. At the moment, I am using a 18-70mm and an 18-200mm lens by
Photography journals
31 deviations
Photography journals31